Disclosure: This post contains affiliate links from Amazon, all opinions are my own.
Since the release of the Frozen DVD this week, it seems like it’s the first time in forever since we’ve seen the film. (It’s now on automatic loop in the minivan.) And since so many friends are getting ready to throw their kids a Frozen birthday party, I thought I’d share how to make your own special DIY Frozen birthday cake. Minus the big price tag.
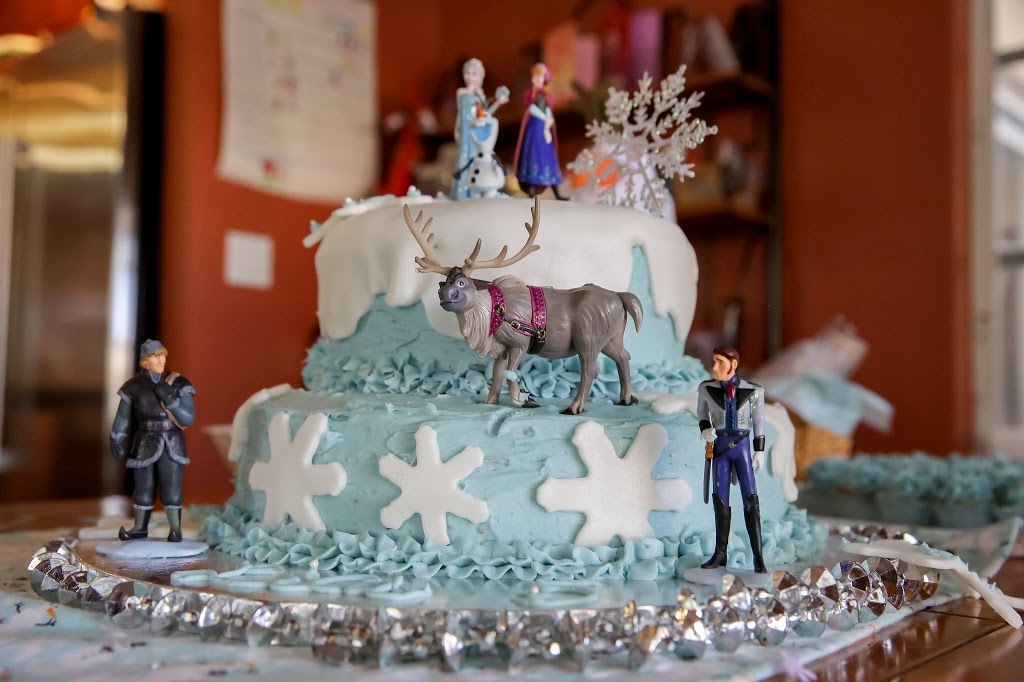
I made this two-tiered cake for my daughter’s Frozen 5th birthday party. After perusing Pinterest I found tons of gorgeous cake ideas…but then priced them out with local bakeries and home based bakers and was shocked at the price. I figured how hard could a two-tiered cake be? It was surprisingly easy, as I split up the process over a week so it wasn’t overwhelming.
So if you are a novice baker like me, here’s the dummies guide to baking this DIY Frozen birthday cake! Please note I am not a professional and have zero culinary training. Unless you count hours baking and tasting my own confections!
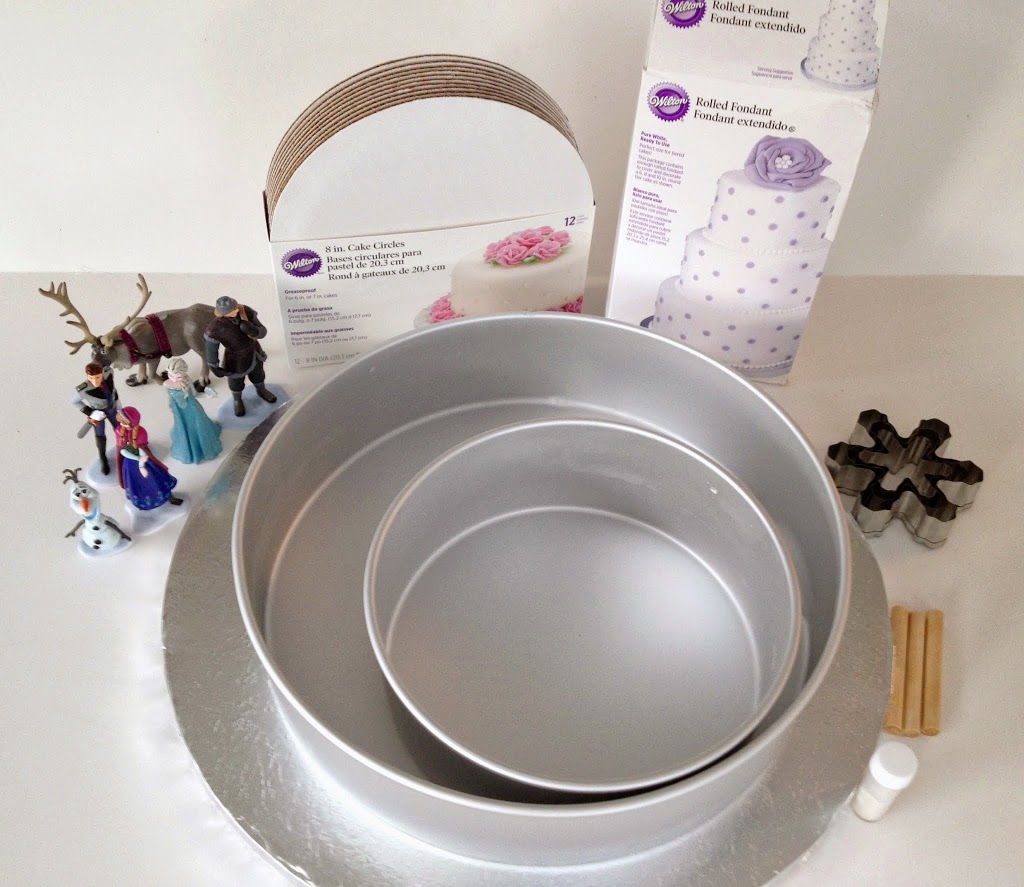
WHAT YOU NEED
2 – 12 inch pans
2 – 8 inch pans
Snowflake cookie cutters
Fondant
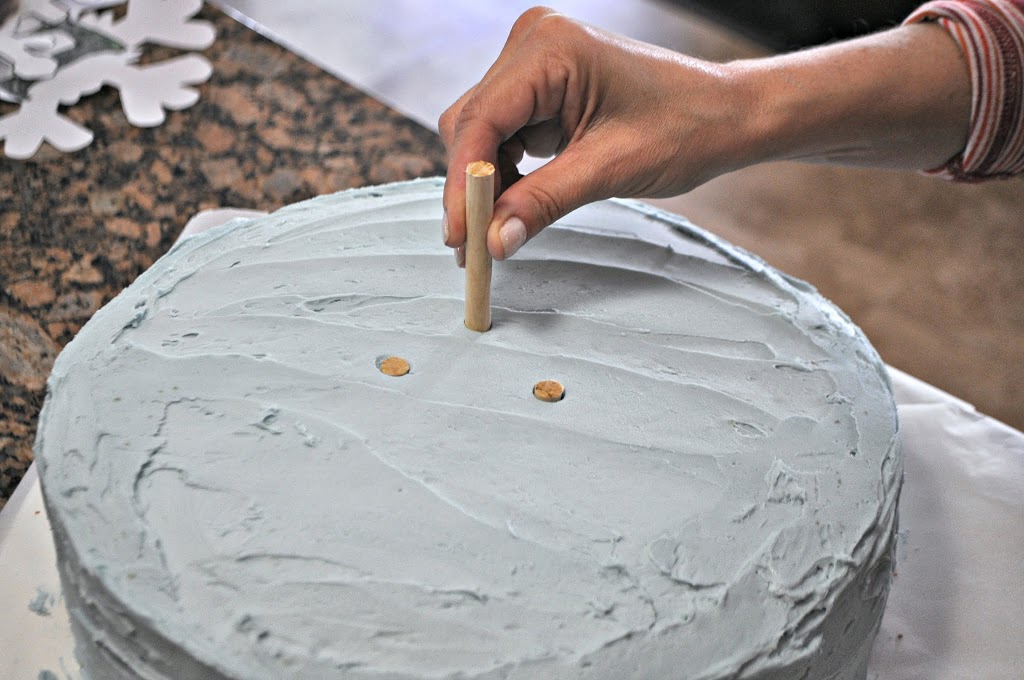
Dowels
8″ inch cardboard cake circle
Frozen Figurines
Cake Base
Cake Ingredients
BAKING THE CAKE
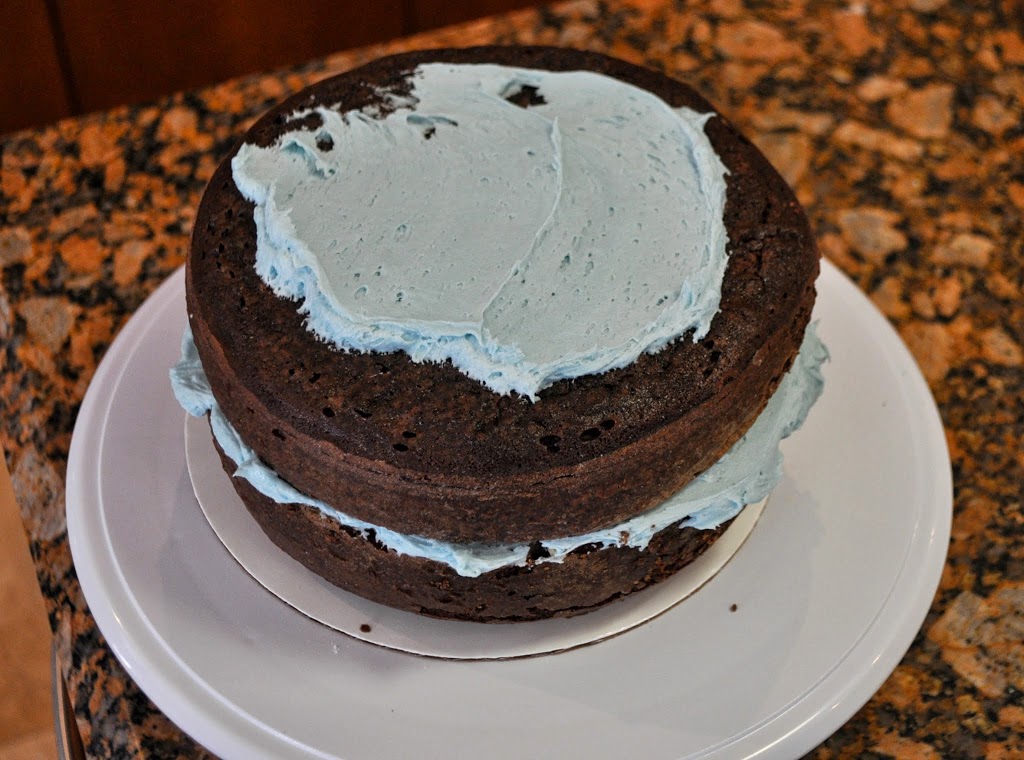
Here’s a tip I learned from a friend that’s a baker, bake the DIY Frozen birthday cake way in advance and freeze it. I made the two 12″ inch layers, and two 8″ inch layers a week before the party, and froze them. You can do boxed cake, or scratch. I did vanilla cake for the bottom layers, (here’s my go to recipe), and chocolate for the top. The Hershey’s recipe rocked by the way, it was my first time trying it! After they cool just wrap them in cling wraps, stack them in the freezer. This is the easiest way to frost them, as you won’t get those annoying crumbs!
Oh and for the 12″ inch cakes, I doubled the yellow cake recipe, or that would be two boxed cake mixes. A single recipe is fine for the 8″ inch cakes.
DECORATIONS
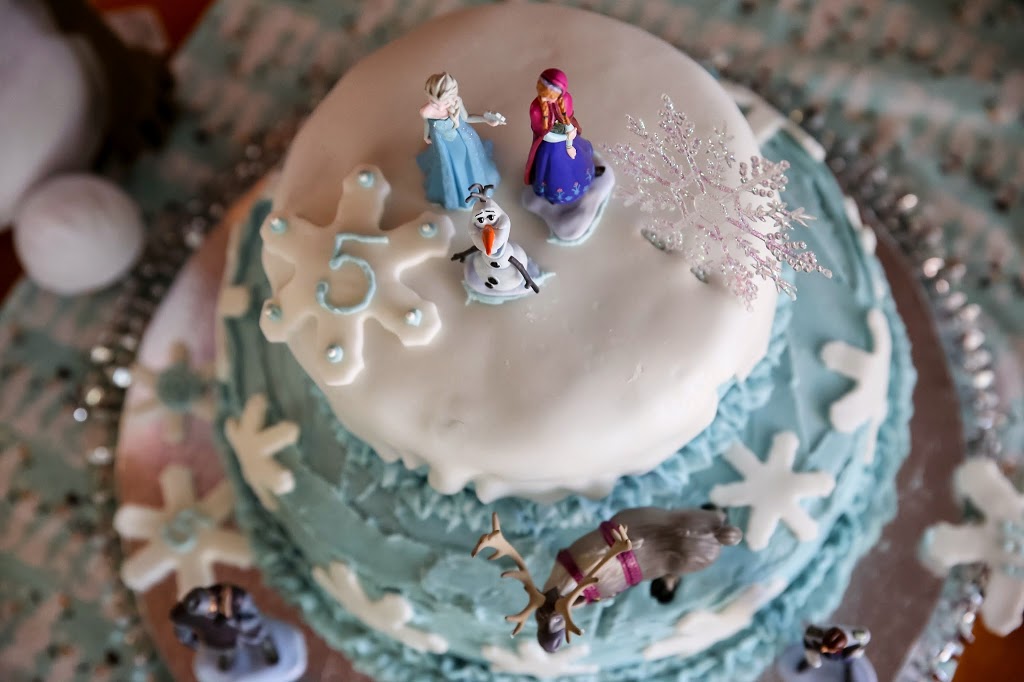
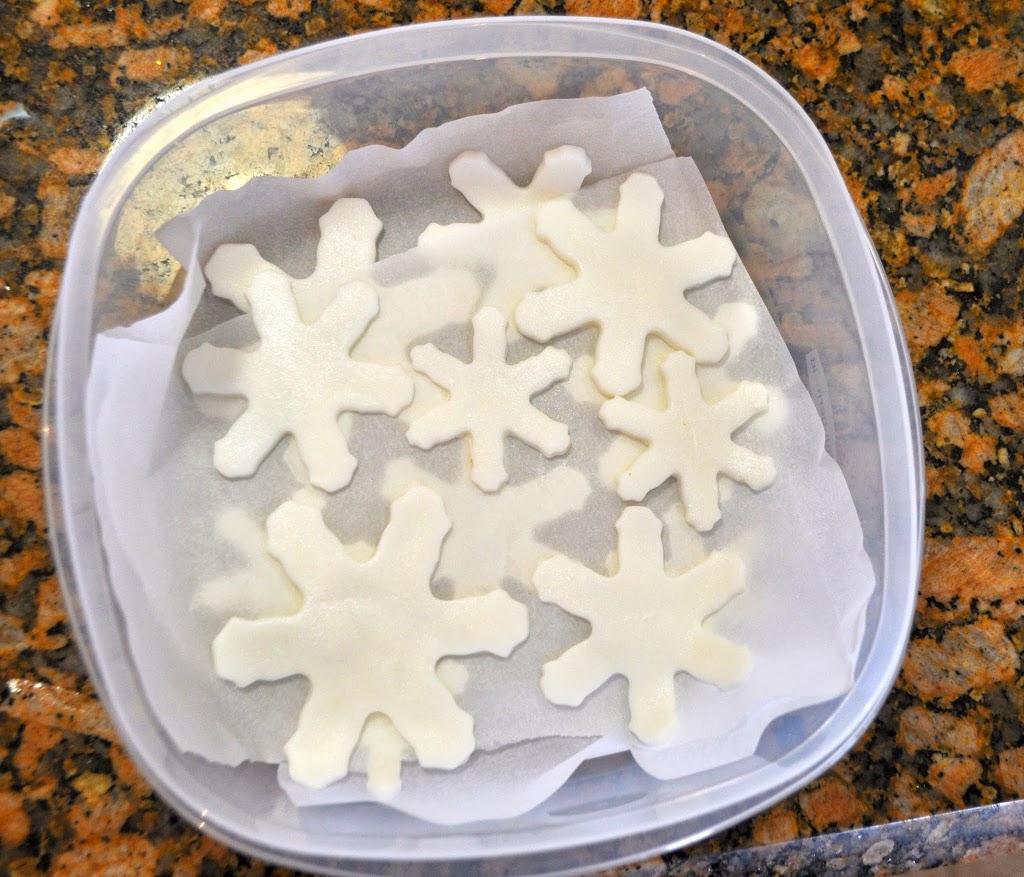
Here’s another time saving tip…you can roll out the fondant a week out as well, and then use snowflake cookie cutters in varying sizes to cut snowflakes for decorations. I also bought iridescent powder for fondant at Michael’s to make the snowflakes sparkle. I stored these in an airtight container and then just popped them on the cake after it was frosted.
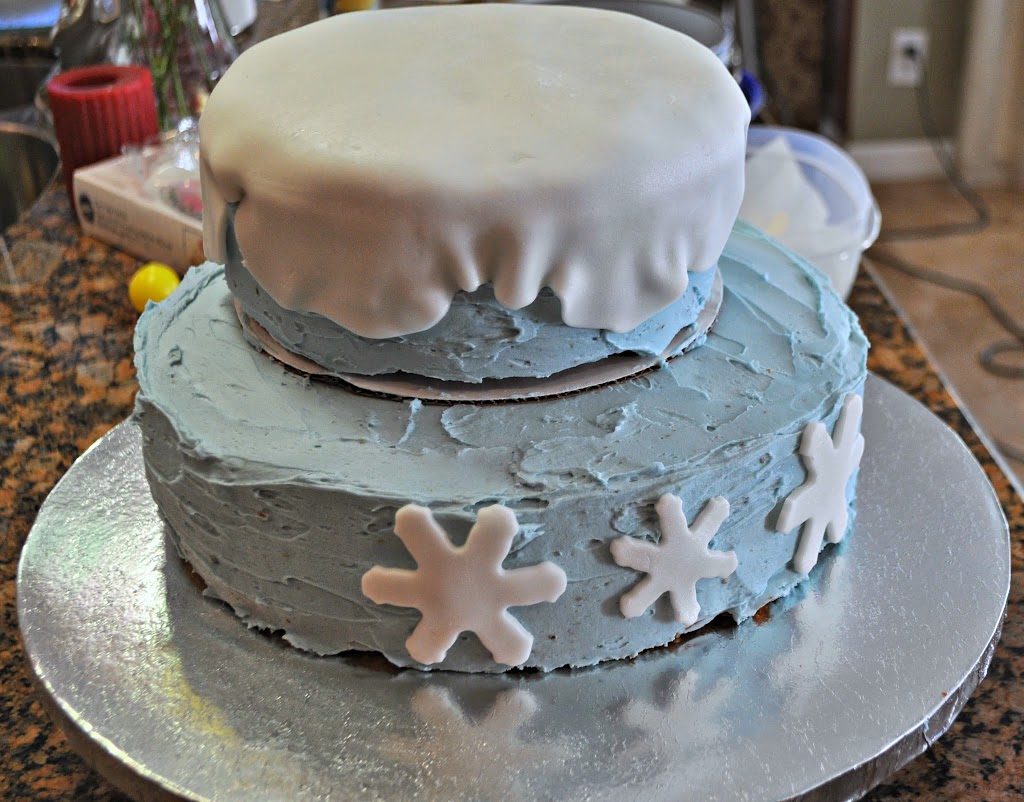
I also rolled out the snow for the top of the cake early as well, and cut the rounded snowy edges with a pizza cutter. Actually my friend Amy did this…with her fancy fondant rolling mat and pin…while I watched in awe. Thanks Amy!
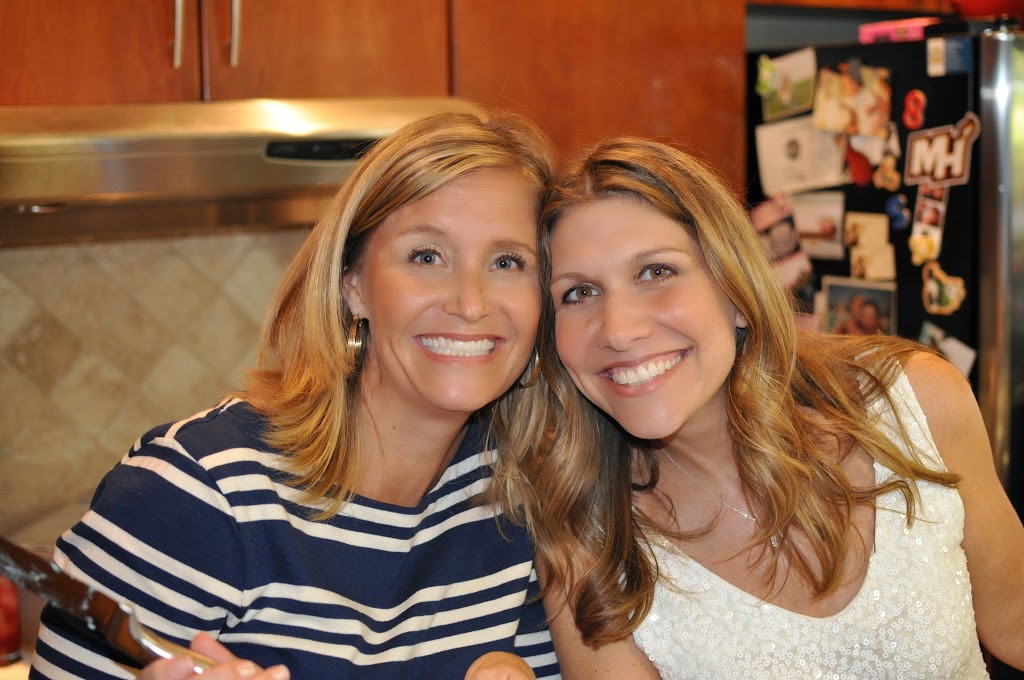 |
| Thank God for good friends…especially the crafty & baking kind! |
CAKE ASSEMBLY
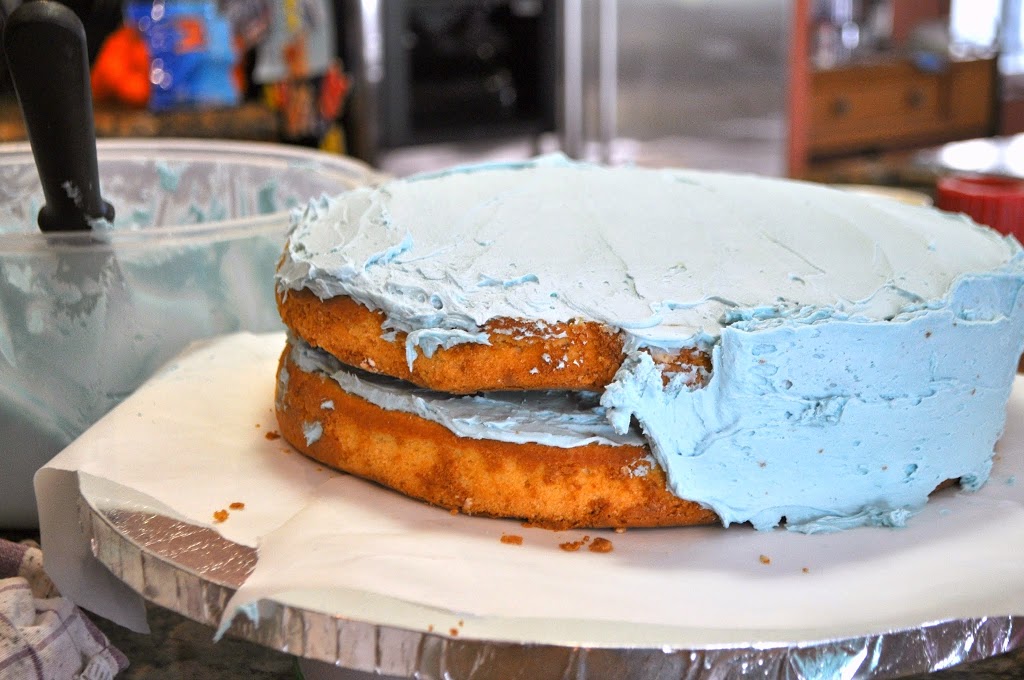
Here’s the quick way to put this DIY Frozen birthday cake together on the day of the party. First set out your cake base and line with wax or parchment paper around the edge of the cakes. Then frost! I made the frosting the night before. When you are done with the icing process, you just slide out the parchment paper and voila, you have a clean cake base!
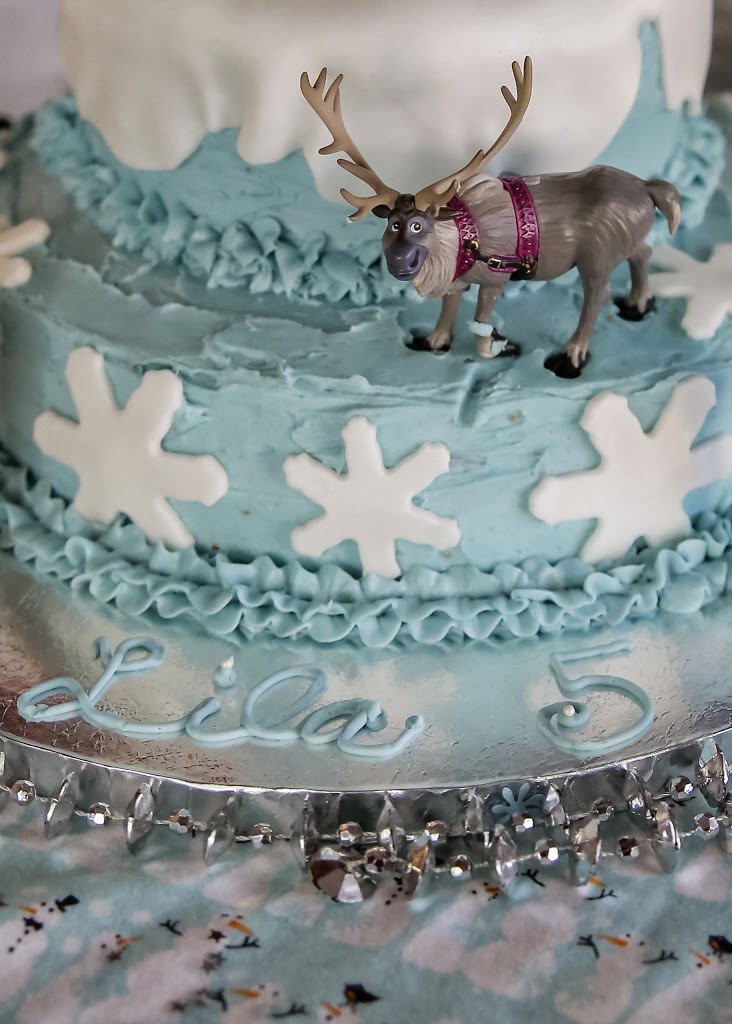
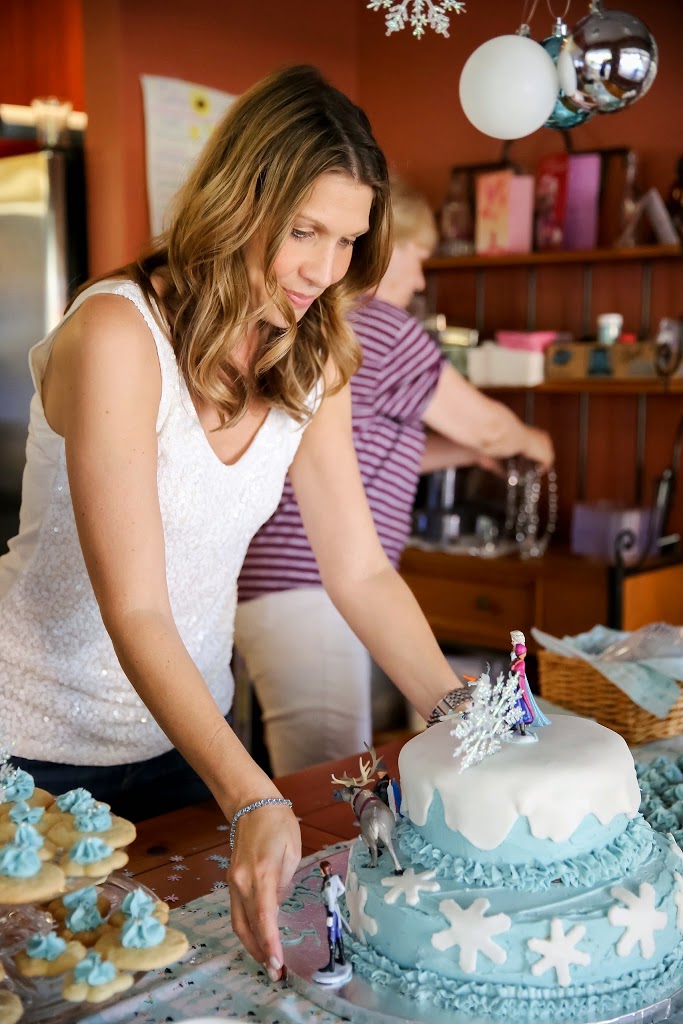
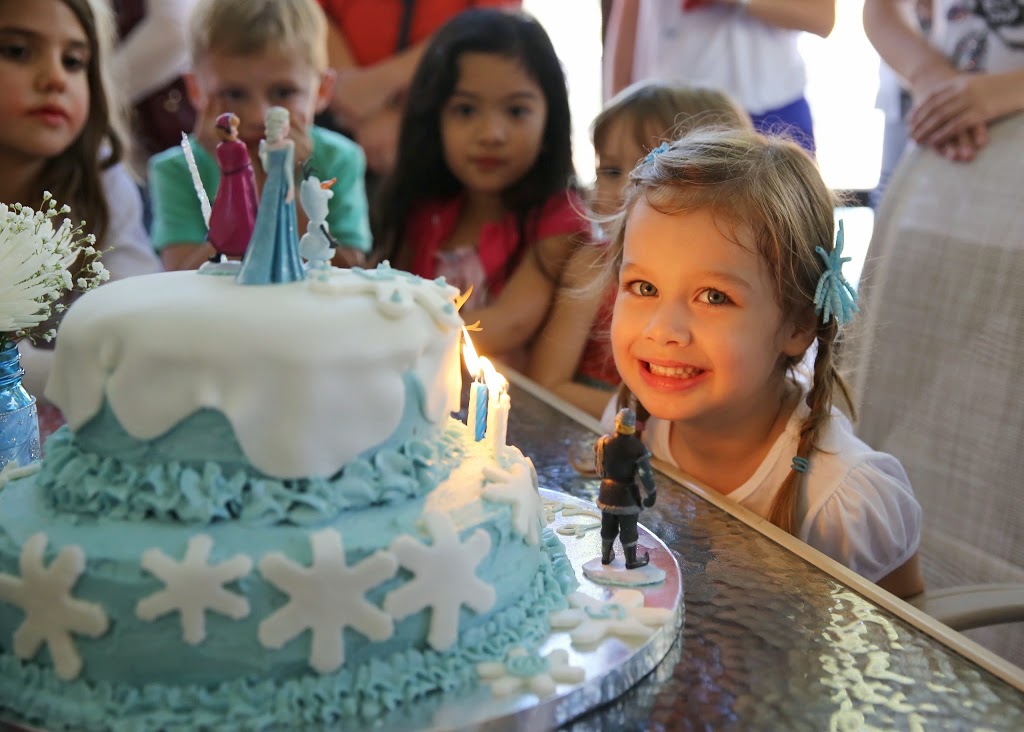
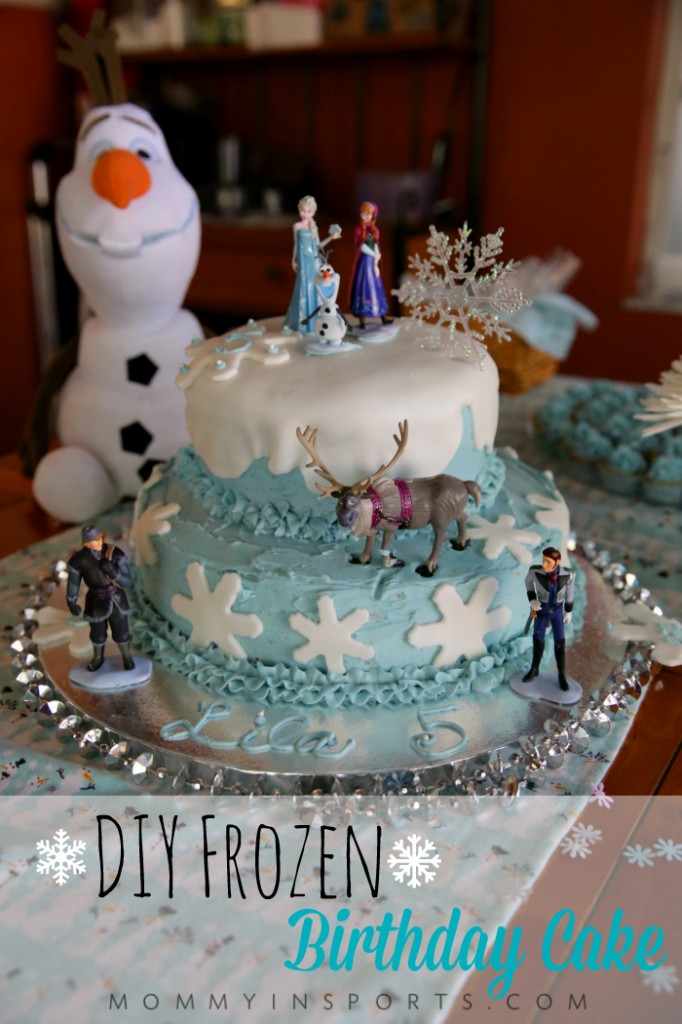
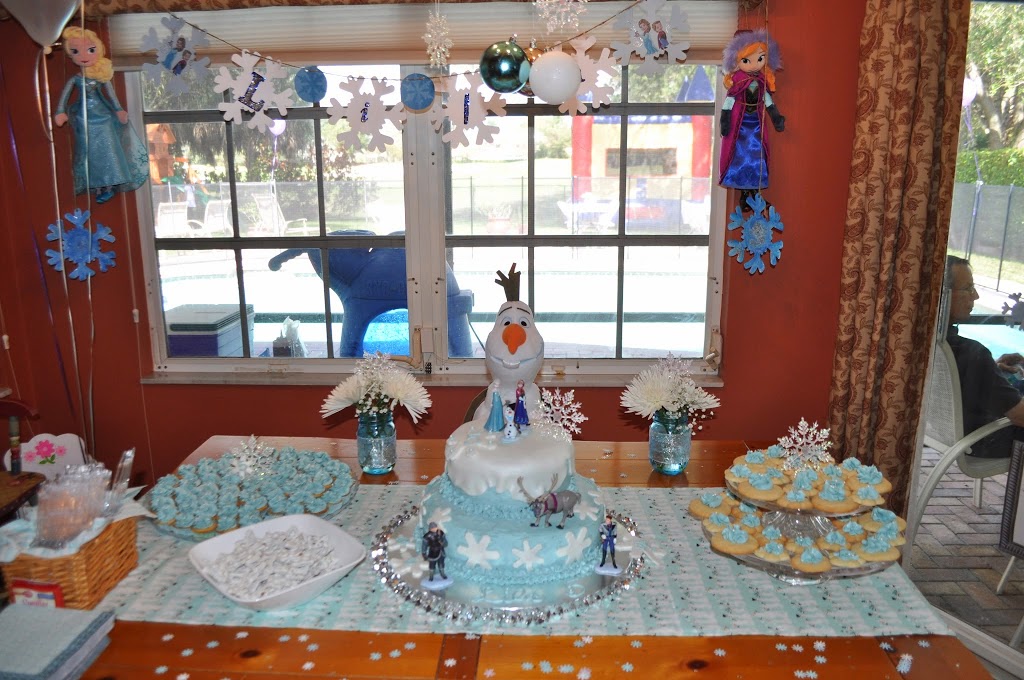
Don’t forget piping around the base of the cakes! I totally need to take a class on decorating, but this turned out pretty cute. I wish I had saved a bit of white frosting for the piping, instead of using the same blue. I also added Frozen figurines from the Disney Store as the final touch, as well as a snowflake from my Christmas tree boxes.
 |
| Photo by: Priceless Photos by Melissa |
And I wrote Lila’s name and age on the cake base, and on leftover fondant snowflakes.
 |
| Photo by: Priceless Photos by Melissa |
 |
| Photo by: Priceless Photos by Melissa |
 |
| Photo by: Priceless Photos by Melissa |
 |
| Photo by: Priceless Photos by Melissa |
 |
| Photo by: Priceless Photos by Melissa |
 |
| Photo by: Priceless Photos by Melissa |




AWESOME job! I took all 3 Wilton classes and I don’t think I would have attempted this!
Thanks Sarah! It was a fun challenge…now I need to work on smoothing the frosting and playing with flavors. Oh if only there was time!
I noticed you mentioned learning to smooth the icing and maybe by now you already have, but in case you haven’t figured it out yet, there a couple of easy ways to smooth out frosting. If you are using a homemade buttercream you can do one of two things.
#1 Dip a metal knife or icing spatula in hot water and lightly run it over the frosting until you reach your desired smoothness. Make sure you clean your spatula after every pass.
#2 (The easiest way) After you frost the cake, wait about 15 minutes or until you can touch the icing without it sticking to your finger. Lay a paper towel over it and smooth it down. Repeat this over the entire surface using a clean paper towel each time. Not only will it smooth the icing, but you will also get a neat pattern on the cake from the indentations on the paper towel.
Hope this helps!
What great tips…thank you!
That is so great!!! I have a little cousin who’s 5th birthday is in September. I’m definitely going to send her mom this way so she can get inspired.
thank you!
Brilliant!
Wow. That’s pretty impressive. 🙂 I’m glad my 5-year old didn’t see me looking at this, she already has a long list of cakes, cupcakes, and pies I’m supposedly making for her birthday in a few months! Haha. Thanks for sharing this at Savoring Saturdays, Kristin!
You can do it…seriously!
Hi Kristen,
Thank you for all your time and effort in sharing this. I am a little daunted, but up for the challenge. After you froze the cakes, how many hours before the party did you pull it out to allow it thaw and decorate the cake?
That is a beautiful cake! Great job mom!! Love the way you laid the fondant on top like snow – it really worked perfectly! Stopping by from SITSSharefest! 🙂 Have an awesome weekend!
Thank you so much. So easy too!
That cake looks fantastic!
Awww that cake is spot on Frozen! Look at how happy your little girl is! #pinitparty
What a terrific cake!!! How fun for a birthday party….. At first I thought it would be an icecream cake, but the decorations are even better, I think…. This would be terrific on my blog hop. Would you please come join the party? Wonderful Wednesday Blog Hop
Thanks much!! 🙂
“hugs” Crystelle
Crystelle Boutique
Great job!! I hope to take a cake decorating class this year!
My niece and nephew watch Frozen EVERY DAY! 🙂 This cake might be in our future. Great job.
How amazing, I bet she was delighted. On another note I LOVE your top, so pretty! Thanks so much for sharing with the #pinitparty. Have pinned and shared 🙂
Thank you! I got it at the JCrew outlet on clearance…I thought it looked like snow!
Do you wanna build an awesome birthday cake? I think I just found the perfect one!!! {Yes, I totally just sung that while typing} Thanks for sharing via MMBH! I’m totally pinning this 🙂
XOXO
Thank you…and I totally heard the song in my head!
I think your cake turned out beautiful! Please consider joining my Light It Up Blue link-up for Autism Awareness: http://notjustbrides.blogspot.com/2014/04/light-it-up-blue.html
I won’t believe you’re a novice baker. No way! 🙂 (Nice first time in forever reference as well. 🙂 ) We tried to save the Frozen BluRay for Easter – but I broke down yesterday and threw it in … we’ve watched it three (four?) times in the past two days. Good times.
Thanks for linking up with Spread the Love!
I swear April, that’s the most ambitious thing I’ve ever tried!
This cake and the entire party looks LOVELY! My little one just turned one, but I would love to use your guide as inspiration for her birthday parties when she gets bigger. That is if Frozen is still popular with all the kidlets. Great post and lovely photos! <3
This is seriously adorable!
Thank you for stopping by the Thoughtful Spot Weekly Blog Hop this week. We hope to see you drop by our neck of the woods next week!
Where did you get your figurines?
What an adorable cake! I think you did an incredible job, and it looks like everyone was having a great time! I would love if you would link up to my “The Yuck Stops Here” link party. It is full of great recipes like yours and we would love to have you!
http://www.thefreshmancook.blogspot.com/2014/04/the-yuck-stops-here-linky-party.html
Thanks, Teri
You’re amazing. This is seriously incredible!! Pinning and stumbling and sharing all over the Internetz.
Thanks for linking up at Wordy Wednesday!
Impressive! Nice work… 🙂
What is your Buttercream frosting recipe? Thanks!
Hi! Can you tell us how to make the icing? Or can I just use store bought?? I plan on making this for my daughter, I can’t order store cakes because she has a peanut allergy. So this will be a fun experiment. Hopefully it will turn out good! 🙂
Hi Kylie! I’ve been meaning to blog my frosting for awhile now…I did add my butter cream frosting recipe to the bottom of this post. http://www.mommyinsports.com/2014/02/rainbow-birthday-cake.html But I would start with tripling this recipe. Good luck! Send me a pic when you are done…I can’t wait to see how it turns out!
Hi. About how many servings did you get from that cake?
The 8 inch on top serves 16-20, and the 12 inch round on bottom serves minimum 25. I had 40 people and had plenty left over, but we did smaller sized portions. Good luck!
Hi! I have another question, when you freeze the cakes and take them out, do ice them while frozen and how long does it take for them to thaw?? Thanks!
Hi Kylie! Sorry I just saw this! I took them out in the morning first thing at 7 and iced the cake, and it was perfect at 2pm. I can’t give you a perfect answer though, but I would say at least 4 hours! Hope that helps.
To smooth the icing use an icing spatula, a metal one.
Have a bowl with very hot water and dip the spatula in it so it becomes hot, dry it fast and smooth your icing.It doesn’t last long so you have to repeat as often as needed.
Good Luck! 🙂
great tip! I’m an amateur as you can tell!
Hi there!! I am totally going to bake this cake for my daughters 3rd bday party (already ordered items from Amazon). However, I noticed your cake batter recipes call for 9″ pans and not 12″. I’m guessing it doesn’t matter? …will they just come out a lil’ thinner?? Please advice. Thanks!
Oh I’m so happy to hear you are going to try to make this cake! Here is what is suggested for 12″ pans “Oh and for the 12″ inch cakes, I doubled the yellow cake recipe, or that would be 2 boxed cake mixes.”
Hope that helps! I want to see the pics!
Sure will! Thanks! Oh, what color did you apply to your frosting?
HI there, such a gorgeous and seemingly doable Frozen cake! I am a novice baker
at best, and I’m throwing my daughter a Frozen themed birthday party in just 2 weeks and think I’m going to try making this cake, but my question is approximately how many inches did you roll and cut the snowy fondant to for the top of the cake? Thank you for your time
Hi Ashley! Why don’t you email me mommyinsports@gmail.com. I’m not sure what you are asking! Also, I’m a novice as well and this was super easy!
Where did you buy the “frozen” figurines for the cake?
The Disney store! You can find them on Amazon too!
Can you tell me what color blue you used to get this shade? Making this cake for my daughter’s birthday next week. Thanks
Where can I buy the same ingredients?