


Disclaimer: I am not a professional baker or masquerading as a wanna be food blogger – just thought I’d share what I learned! Oh, and this post contains affiliate links, so if you buy something I may get an itty bitty commission.
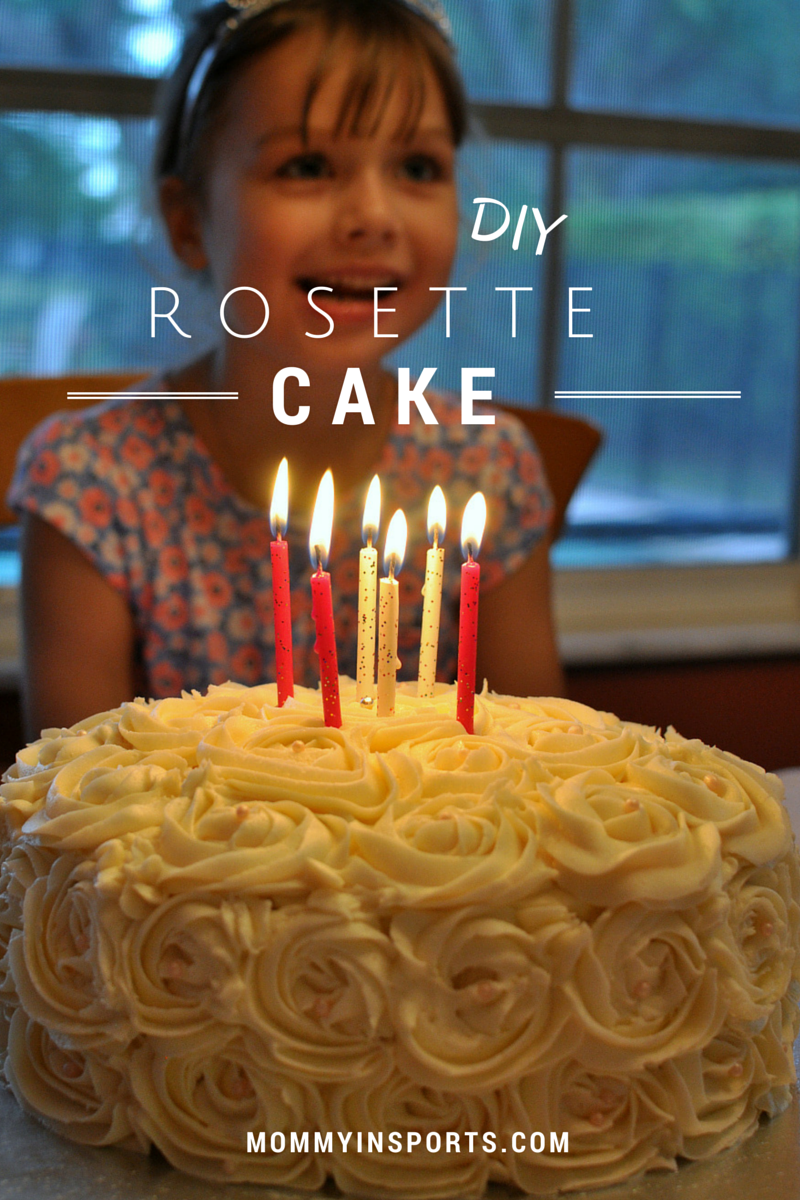
When Lila asked for a cake covered in roses for her birthday this year I was scared. I love baking, but decorating requires mucho patience, which I’m still impatiently waiting to acquire. So I searched Pinterest for something I might be able to handle and found that rosette cakes actually looked pretty easy. I had no intention of sharing a how-to of this cake because last weekend was my first try. (Plus it didn’t turn out as perfect as the ones on Pinterest!) But I shared a few pics of our masterpiece on Facebook and was surprised at how many friends were impressed. This cake may look super fancy…but it seriously was one of the easiest I’ve ever made. So I figured if I can do this, then let me encourage everyone else to try to try as well. Don’t fear the frosting bags people…you’ve got this!
diy rosette cake
I started with three 9″ inch layers, in blush, bashful…and well pepto bismol pink, prepared by our six year old. Channeling Shelby in Steel Magnolia’s perhaps?! She loves her pink. (BTW these are my go-to pans, awesome-ly easy to get the cake out and bonus…they are cheap! I’ve had them for 10 years and they still are in perfect condition.)
A photo posted by Kristen Hewitt (@mommyinsports) on
If you aren’t sure how to make colored layers, it’s really easy. (I have directions in this rainbow cake post.) For this cake I doubled a standard cake recipe, and used two cups of batter per cake layer. You can just use two boxed cake mixes, but why when homemade tastes sooooo much better?! I froze my layers so the crumb coat was easy peasy.
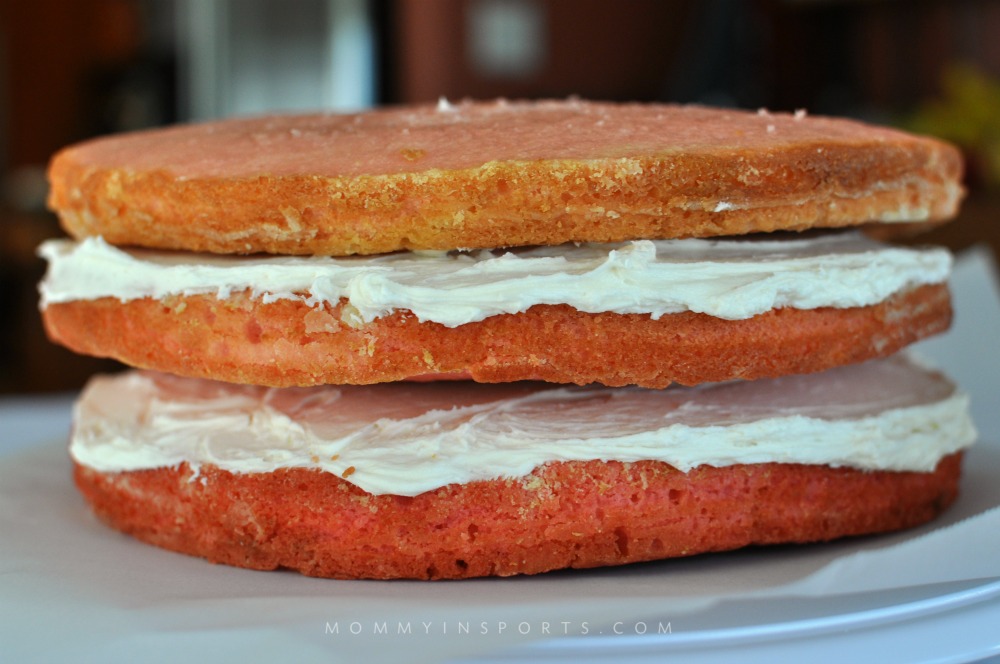
What the layers looked like straight out of the freezer.
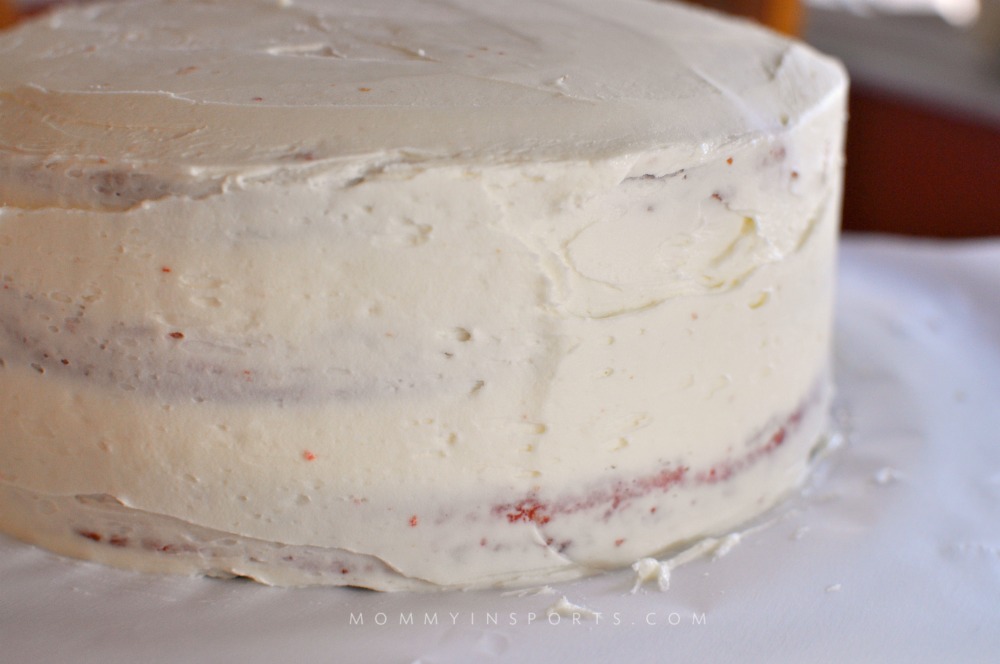
How much frosting do you need? I made a double recipe which was barely enough, next time I’ll go thinner on the layers and the crumb coat. If you want my recipe (which I hear is pretty good) let me know and I’ll share it!
 Then time to add the roses…woo hoo! But wait, how do I do that? Watch this.
See, told you it was easy! Then I grabbed my Wilton 1M tip and went to town starting with the bottom layer. The great thing about this if you mess up, just scrape it off and try again! (I did that a lot.)
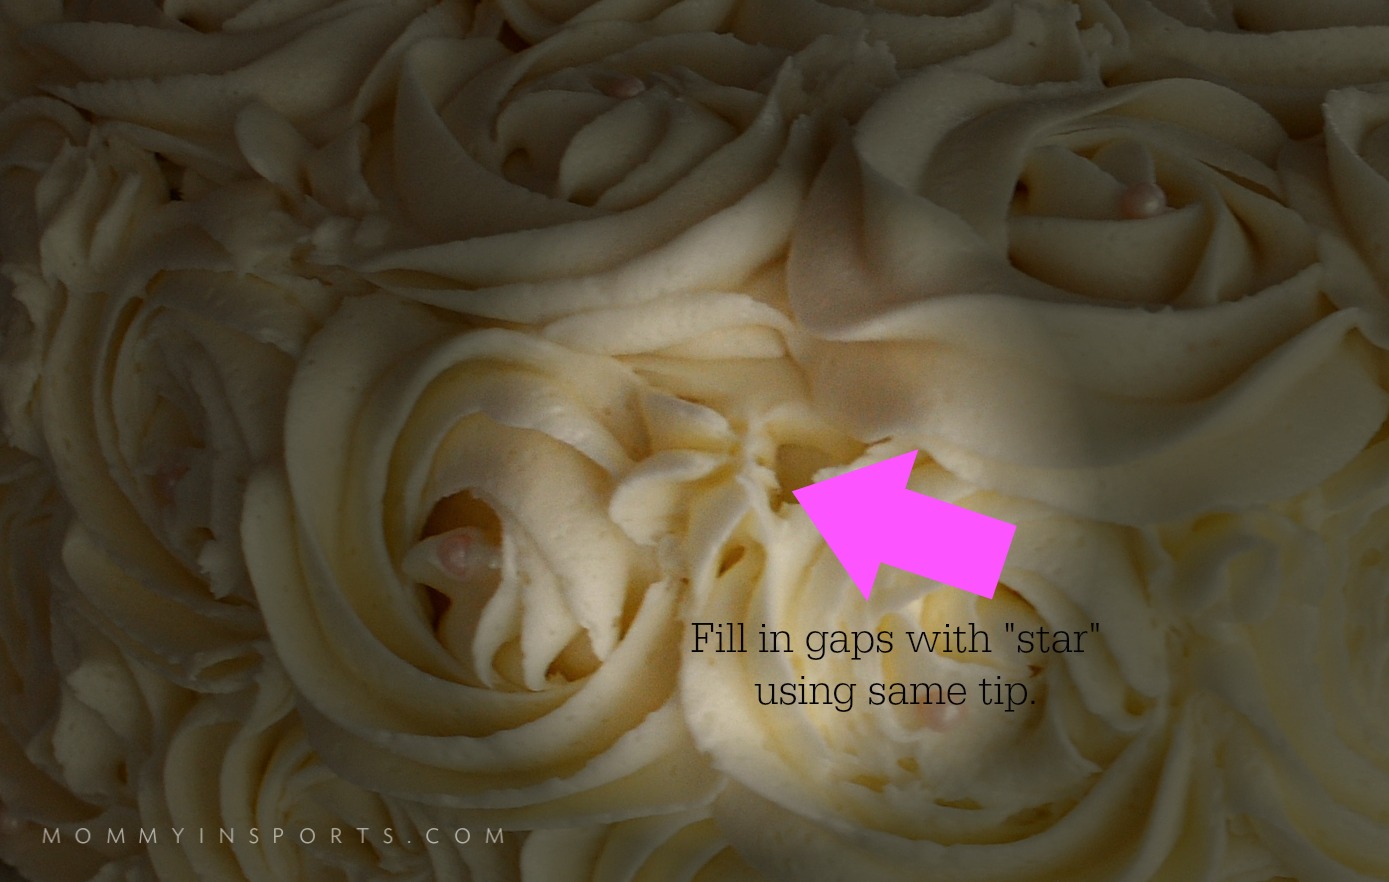
Then time for the 2nd layer which overlaps a bit over the 1st layer. And don’t worry if there are gaps you can fill them in later by making a little star! And then do the top of the cake starting from the outside and work your way in.
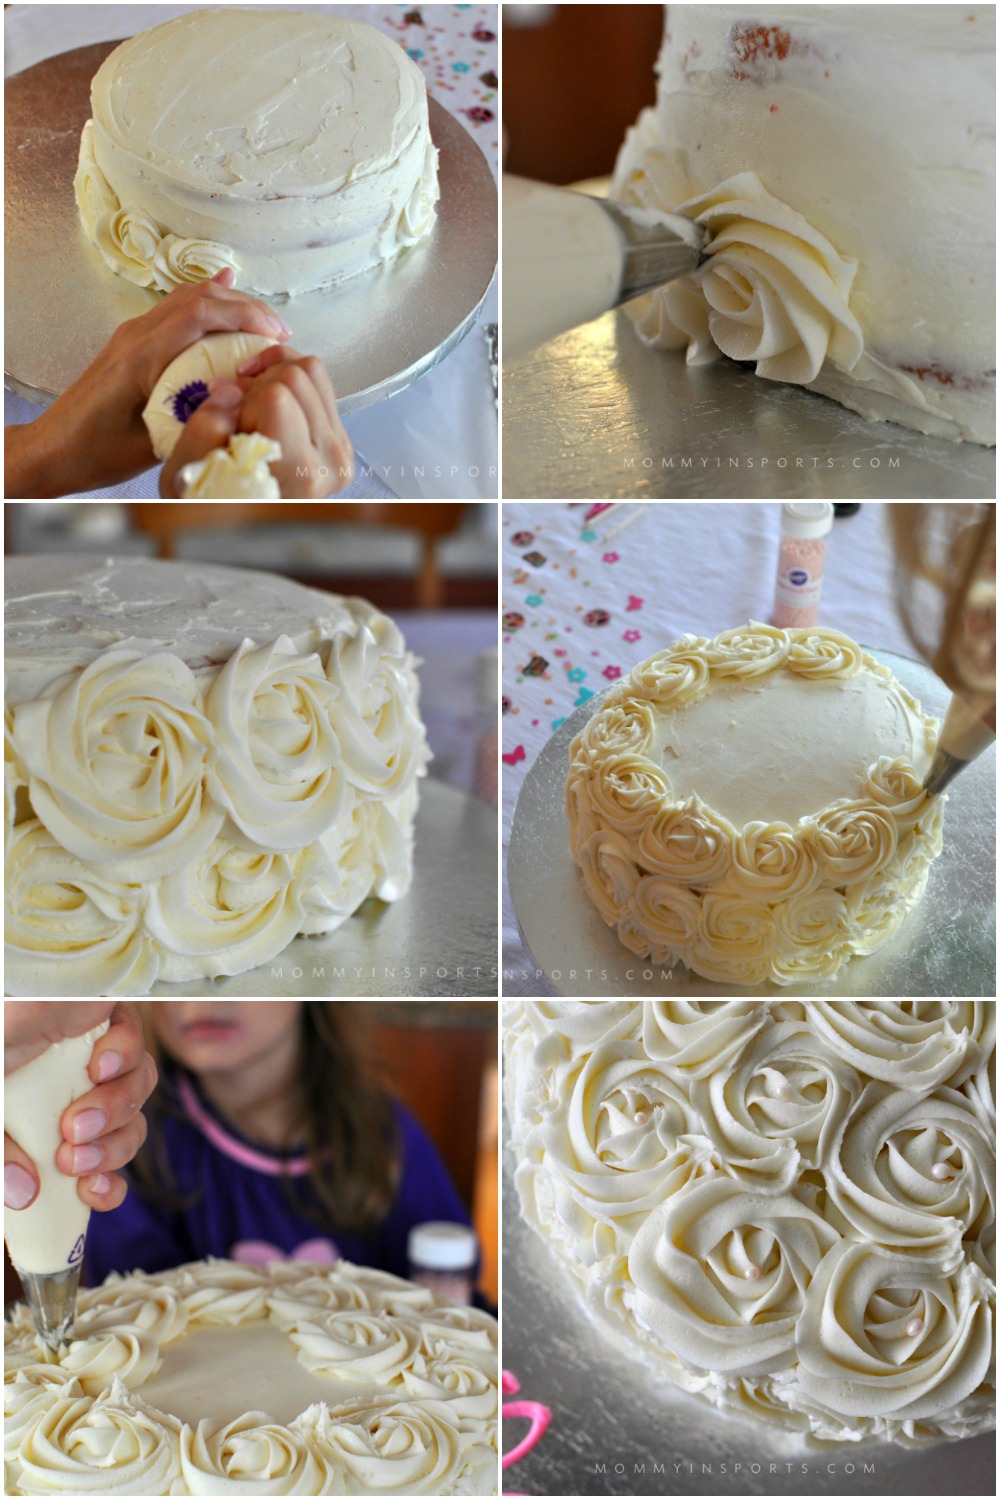 Lila added sprinkles in the middle of each rose…so cute! Oh and remember those gaps? Here’s what I meant by a little star.
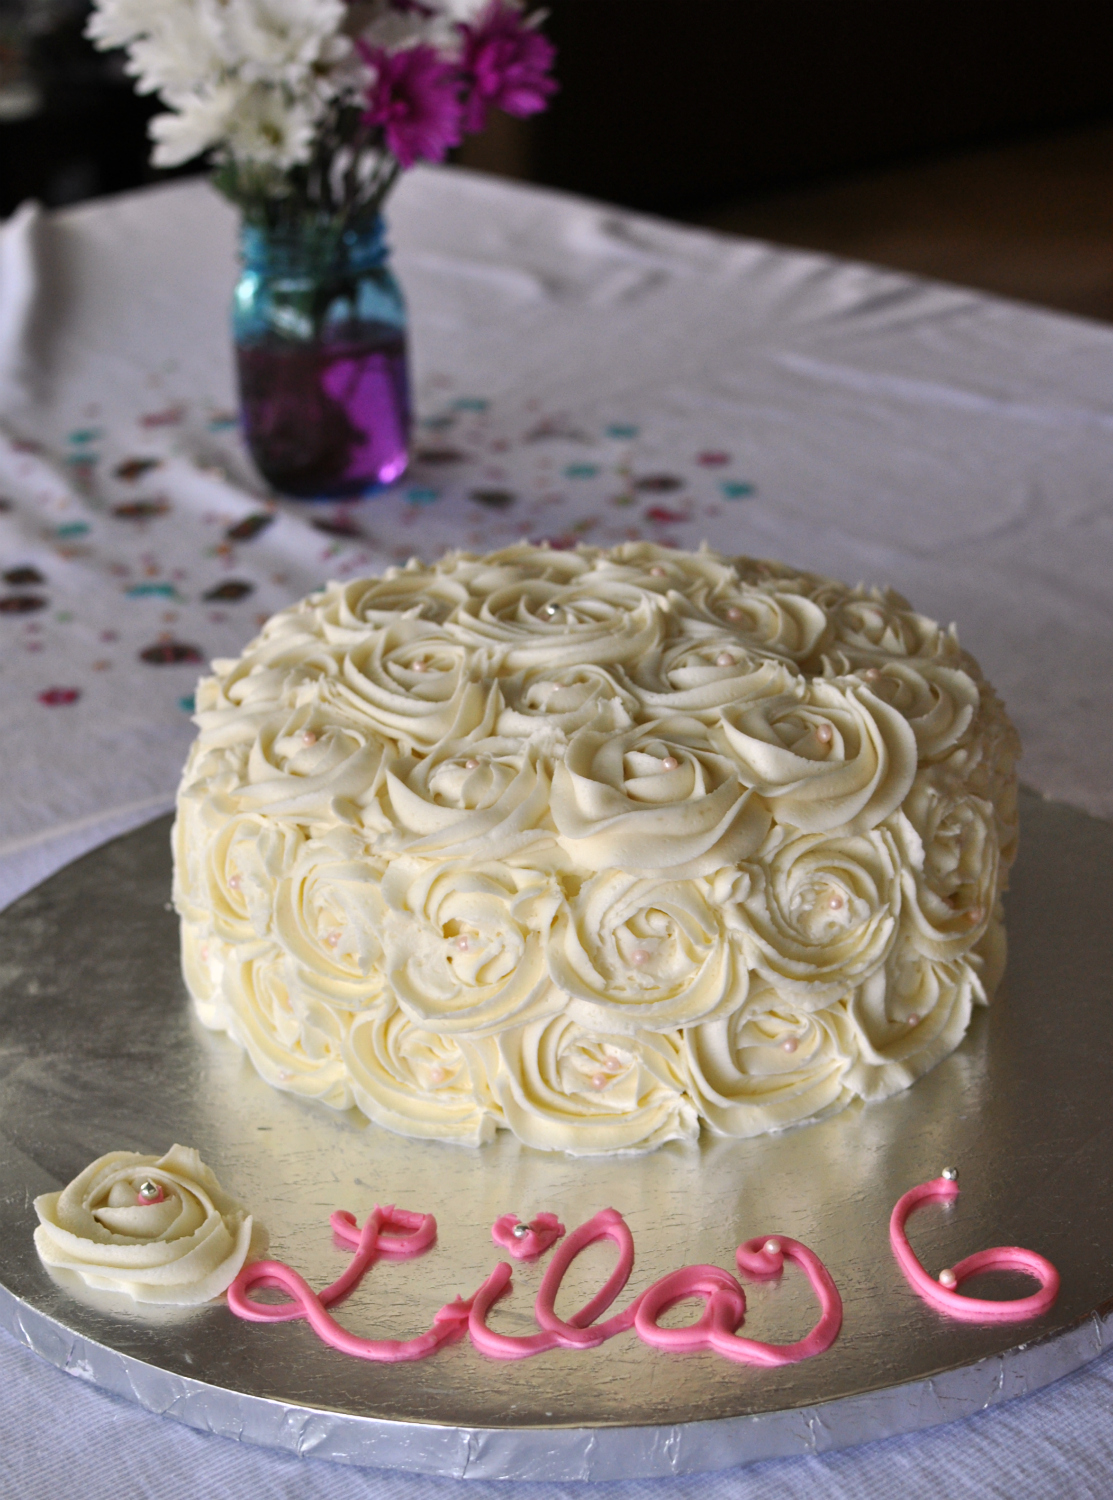
And here’s the finished product!
And the birthday girl…
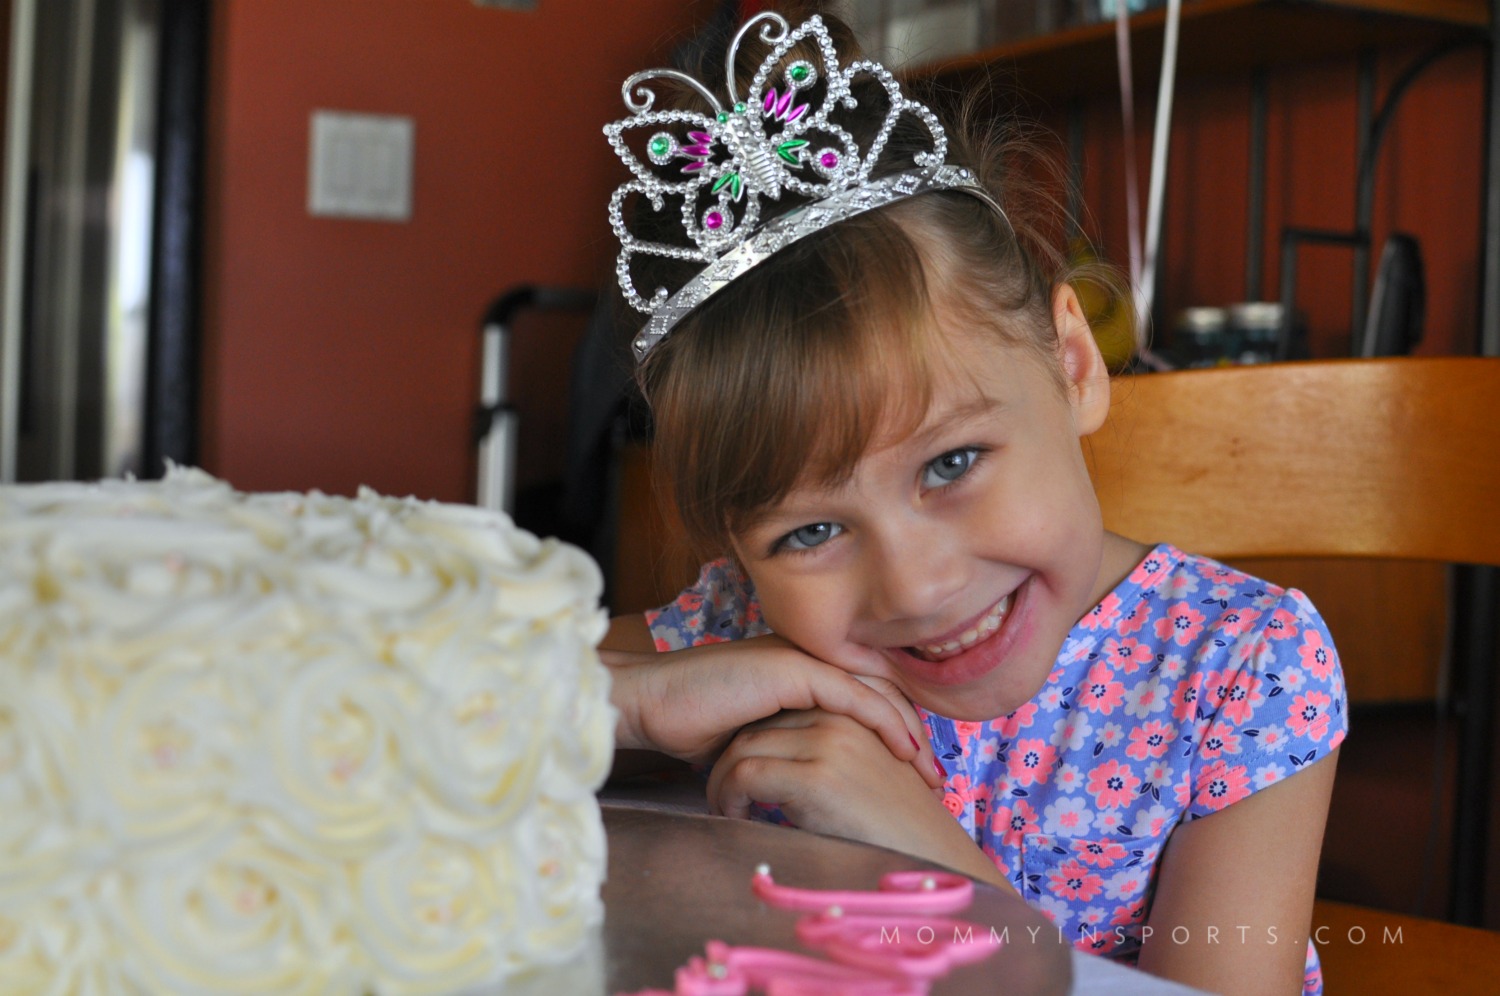
And a rare shot of me with my sweet girl on my 6th mom-iversary.

Rocking our princess buns…as she said, “twinsies!”
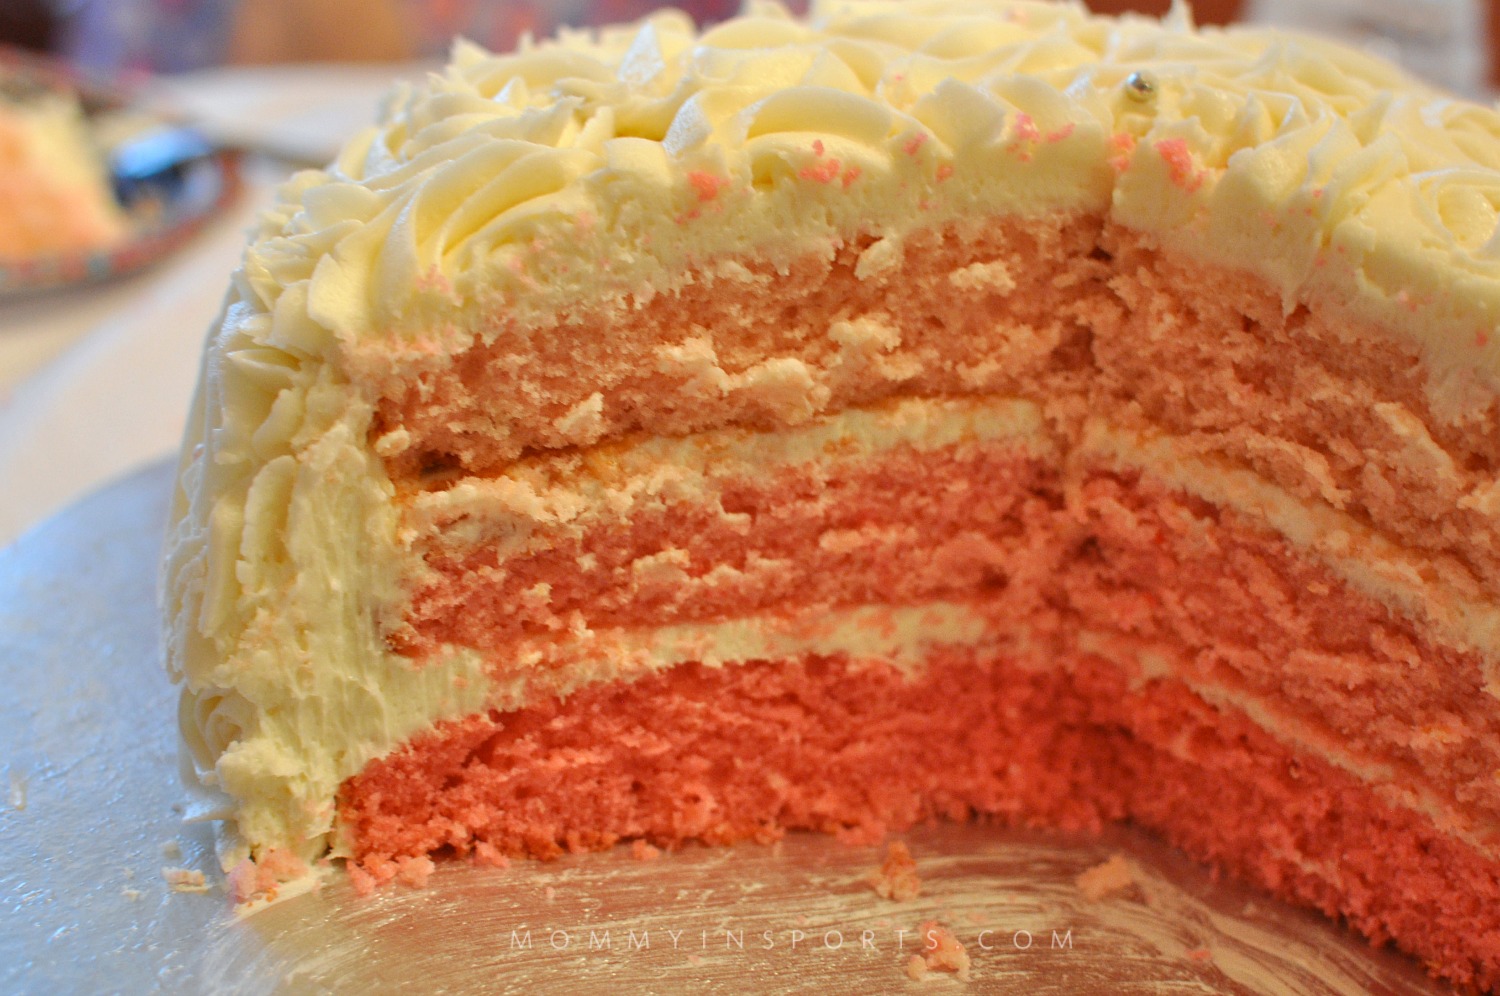
Oh and check out the sweet surprise inside! I love ombre cakes, even when they are all pink…this will forever be dubbed my Sweet Magnolia’s cake!
What would I do differently if I make a rosette cake again? First I wouldn’t fill the icing bag as full, maybe only 2/3 so I could have better control of the shape of the rose. And second, I would use a juice glass and put impressions of circles around the cake to make them more ‘uniform.’ I know roses aren’t perfect in real life…but I think more uniform sizes and shapes would be prettier. But then again this cake turned out perfectly imperfect, and isn’t that what homemade is all about?!
Want more great cake and cupcake inspiration? Check out these other great tutorials and recipes!
Simple Homemade Palace Pets Birthday Cake

It’s gorgeous! You did an amazing job. And this line: “decorating requires mucho patience, which I’m still impatiently waiting to acquire”… beyond perfect.
i’ve learned you always need more frosting than you think. ALWAYS! This looks super awesome btw!
You did an AWESOME job! That cake looks amazing, and I love how the 3 colors turned out too!
You did beyond amazing! I absolutely love it! Kudos to you!
WOW! That is AMAZING! I think you did an excellent job!
Thank you! It was fun to make, and it helps when you bake the cake and freeze it a couple weeks out, then all you have to do is decorate the day of!
Oh good gravy what can’t you do?? You are amazing and your cake turned out so cute!! Happy birthday to your beautiful little girl! Six is the big time. At least that is what my kids say 🙂
Sleep…I can’t sleep. So I bake. lol!
Wow! My 5 year old turns 6 in July and may need to try this or hire you!! 😉
I wish I could! I love it…so much fun trying new things…but I’m happy there’s just 3 birthdays to bake for a year! Gives me tons of time to plan for the next one…
Oh wowza!!!
Are you trying to add cake decorator to your already full resume? WOW! That cake is amazing!
ah no! Just a hobby…ironic since I gave up dessert for lent. Sigh! (I might have had to still a lick or two while baking!)
I love how your cake turned out. I have been trying a few more techniques I need to add the rosettes to my to do list! Perfect for a spring gathering or if I get together with my girls over mother’s day.
I can’t believe this was your first try. You make it look so easy. I’m a former frosting addict, so I’m not sure I could do this and eat the do-over parts.
I continue to be amazed by your baking (and decorating) skills!!! You say it’s easy..but YOU just make it look easy!!! I’m in awe…really well done and so pretty!!
Awww…thank you! I’m in awe of how you balance your job with motherhood! I promise it IS easy if you plan ahead!
Ahh, this is so beautiful! You nailed it and I love that you even put what you’d do differently in the future.
I really would love to try this and I love the ombre middle!
Job well done! Its so beautiful.
WOW! This is gorgeous! You did an exceptional job! The roses look almost real.
Thanks for sharing. I just adore the picture of you and your daughter. So very sweet.
xoxo
This looks gorgeous!! I will totally have to make this next time we need a cake! Beautiful!
Thank you! You will rock it!
What great memories you are making. The cake is lovely.
That looks awesome. I don’t think I could do it without eating a third of the frosting as I tried to make the flowers. That is very cool.
yes you could…trust me. After a couple the sweetness would make you gag! (not a great endorsement huh?!)
wow– That looks hard hard hard. But looks good. I love this idea. I might put a little more effort into my next cake.
It’s really not…I promise! If you can crochet a sweater…you can make this cake!
AMAAAAZING! So impressed. 🙂
How do I place an order????? This is very impressive… you make me want to eat it!
You’re so talented! Looks delicious, too. Glad she had a great birthday!
I bow to your talents, wow! You rocked this. Thank you for sharing at the Thursday Favorite Things blog hop. Watch for your feature next Monday xo
Yay! Thank you!
Those cakes look amazing! And of course, now I want to eat them.
Gorgeous cake. It almost looks to beautiful to eat! Your rosettes are so pretty! Thank you for sharing!
This is so pretty! Well done and congrats on your six year mom-iversary.
Thank you – I survived!!
That’s a beautiful cake, a neat way to do the flowers! Come join the Mix It Up Friday blog link up tomorrow morning at http://www.classyyettrendy.com
Leanne,
Classy Yet Trendy
LOVE this cake! Does sound much easier to attempt now, as I was a bit intimidated before. Pinned for later. Popping over from From Dream to Reality.
Thanks for pinning, I thought so too until I tried it!
How stunning, I saw you over at Weekend Retreat Link Party!
Ammmmmazzzinnnggg looking cake! I really want some 🙂 love the ombre look and the rosettes are perfect! Love piping bags too! Stopping by from the weekend retreat link party!
Cathy
What a lucky girl! And a stunning cake!
Aww….what a beautiful princess and cake!
Thank you Erlene!
I just might (might) be able to do this!
You can add baker to your name. You did a great job.
thank you!
That is really pretty and such a nice thing to do! Your daughter is a class act!
I second (well, I guess it would be more like “twentyieth?” [is that a word?]) that it looks amazing. Glad to hear that it isn’t TOO hard. I haven’t really tried decorating because it looks a bit daunting, but I might give this a try.
This is an amazing job! And yes, please – share your icing recipe.
Wow! This is super cool, and I’ve always wanted to do elaborate cake decorating. I love to bake, and I’m sure to try this at the first opportunity. Thanks so much for posting this!
I think it is beautiful!
Thank you!
hii I would love your icing recipe for the roses if you don’t mind? !
Hi Christine! I just made normal buttercream. I do 2 sticks of salted butter, 1 tsp good quality vanilla, heavy whipping cream (2-3 tbsp) and 1 1/2 or 2 cups of sugar. Sometimes I put a drop of almond extract or a squeeze of lemon to lighten up the frosting taste!
My goodness, the cake looks drop dead gorgeous!! Thanks for sharing all your tips along the way. Really inspired me to make one, but need an occasion!! Who’s birthday coming up?? 🙂
Beautiful cake! Interested in your buttercream recipe! 🙂
Hey there, I didn’t read through all these awesome comments, so sorry if someone already asked, but did you share your frosting recipe somewhere? I would love it if you are still willing? Thanks
I was JUST blogging the recipe, but here’s what I do: 1 stick salted butter, and 1 stick unsalted. Then mix with 2 1/2 cups powdered sugar. About 3/4 tsp vanilla and 1/4 tsp almond extract, squirt of fresh lemon juice, then 1-3 TBSP heavy whipping cream to your desired consistency. With this butter ratio the frosting isn’t too sweet. I always make a double recipe! Send me a pic of how it turns out!
Nice post. I learn something new and challenging on sites I stumbleupon every
day. It’s always useful to read content from other writers and use something from other web sites.