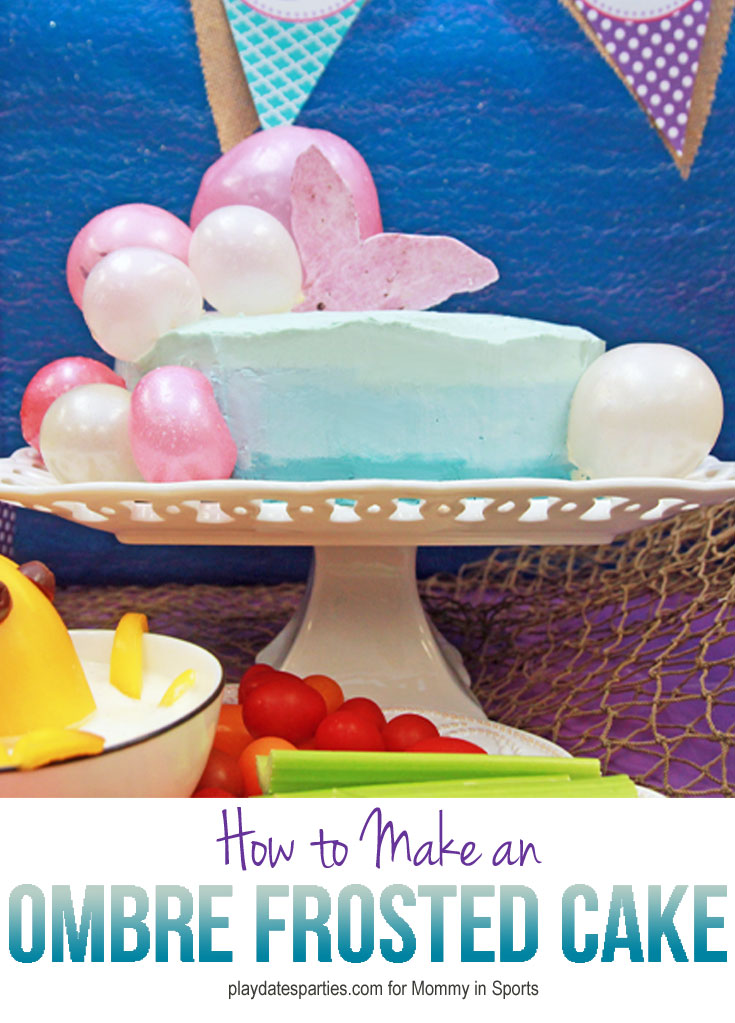
Do you want to know a secret? It doesn’t take a lot of skill to make an awesome ombre frosted cake.
Hello there Mommy in Sports readers! My name is Leslie and I’m the writer/creator at the blog From Play Dates to Parties. There you’ll find my all of my adventures in parenting, decorating, and planning parties for my family. I’ve been reading Kristen’s blog for quite some time, and I love that she shares a good balance of healthy living tips in addition to some sweeter options…like her DIY Frozen cake and gorgeous Rosette cake.
Speaking of that rosette cake, didn’t you just love the ombre layers inside? It was just super duper sweet. I’m so excited to be here today, because I get to share with you another fun option for your birthday cakes this year – an ombre frosted cake! Ombre has been around for decades but has been seeing an increase in popularity over the last few years, and the trend is still going strong. When my oldest decided she wanted a Mermaid theme for her 6th birthday, I knew I wanted to do something different, and an ombre cake fit the bill perfectly.

how to make an ombre frosted cake
Tools and Ingredients:
- Two 10-inch cakes, leveled
- Approx. 4 cups of white frosting
- Smoothing tools, such as an offset spatula, and/or a dough cutter
- 2 12-inch cake boards
- Piping bags or gallon-size ziplock bags
- small bag clips
- tall and narrow glasses (pilsner glasses work perfectly)
- small cupcake/cake stand or cake turner
Instructions:
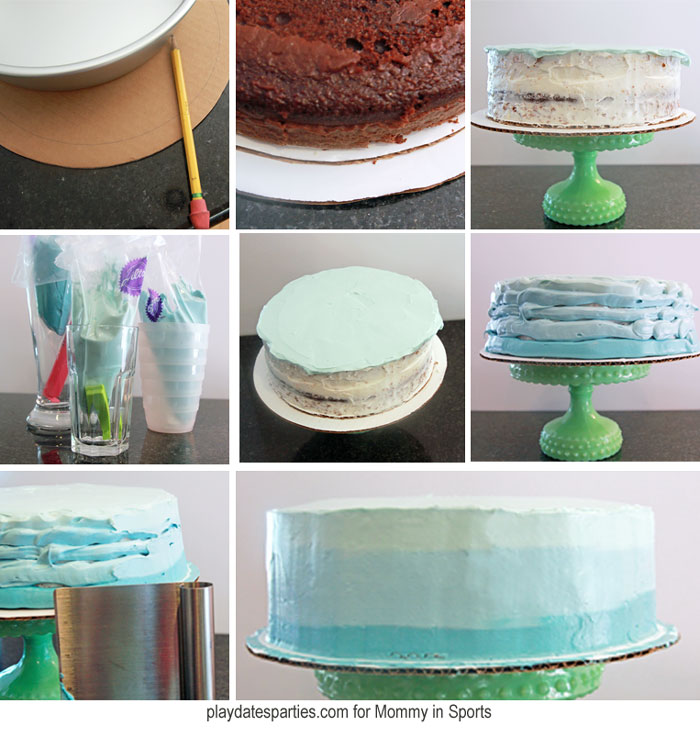
- Trace your cake pan onto one of the cake boards and cut it to size. Place the smaller cake board on top of the larger cake board.
- Place your first layer of cake on top of the smaller cake board. Layer frosting and the second cake on top of the first cake. Apply a crumb coat of frosting outside the cake to fill in the gaps and to prevent crumbs from getting into the final frosting. Refrigerate your cake for at least 30 minutes to an hour.
- While the cake chills, divide the remaining frosting into three or more bowls and tint to your desired colors. Spoon the frosting into piping bags fitted with a round tip.
- After the cake finishes chilling, place the cake (still on both cake boards) on a small stand that you can easily turn.
- Apply a coat of the lightest colored frosting to the top of the cake, making sure that the frosting extends beyond the edge of the cake. Smooth out the top of the frosting as best as you can.
- Starting at the bottom of the cake, pipe a line of the darkest frosting until it runs out. Add the next lightest color just above the dark frosting. Continue piping with progressively lighter colors until the cake is covered. Make sure you apply the different colors evenly, and don’t worry if there are small gaps between the rows of frosting.
- Holding your smoothing tool vertically, with the edge against the cake board, lightly scrape the side of the cake to smooth the colors together. Be careful not to remove too much frosting. Turn the cake stand as you hold the scraper.
- Repeat as necessary to get your desired effect, but be careful not to scrape the cake underneath. You can also use an offset spatula to smooth out the frosting afterward.
- When ready to serve, move the cake and small cake board to your cake plate.

Tips for Frosting an Ombre Cake:
- Don’t skip the step with the cake boards. Cutting down the small cake board makes it nearly invisible in the final presentation, while the bigger cake board helps manage the mess from scraping the frosting
- Make sure there is enough difference in frosting colors to make the different shades visible in the final cake.
- Try to make even quantities of colors, if possible. (I accidently ran short on my darkest color, which affected my ability to blend the colors)
- Before filling your piping bags, clip the bags just above the piping tip and prop the bags up in a tall, thin glass. Pilsner glasses are perfect for this purpose. They are just tall enough, and they are the perfect width for folding over the top of the piping bag, reducing your mess.
- If you don’t have piping bags and tips, you can use gallon-size bags with the corner cut off. You don’t need to worry about piping perfectly because of the smoothing out in step 7.
- The overhang of frosting on the top layer helps to ‘seam together’ the edges and top. This is easier than trying to smooth the top layer after the edges are piped and scraped.
- It’s easiest to scrape away the frosting with a tool that has a flat edge. I used a dough cutter, but you can also the handle of a spatula or wooden spoon.

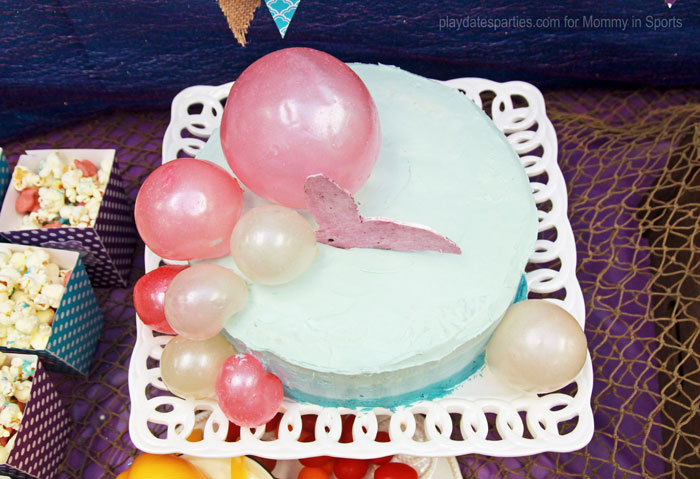
I know that’s a lot of words and steps listed above, but trust me, it’s easy peasy. We added a mermaid tail made from white chocolate and gelatin bubbles (using this awesome tutorial over at Sprinkle Bakes), but this kind of cake really does look pretty stunning on its own. Hopefully, you’re willing to give it a try! And if you’re interested in seeing more tips, crafts, and recipes, you might want to subscribe to my Bloglovin Feed or Facebook page.
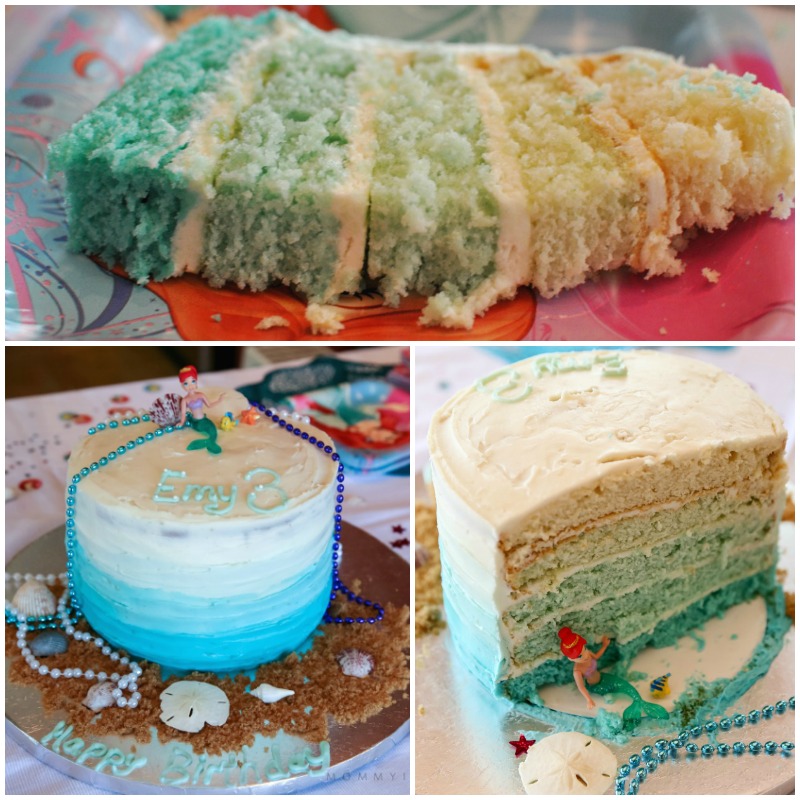
And if you want more mermaid inspiration, check out Kristen’s Ariel Birthday Party Ideas where she made her own ombre mermaid cake, inside and out!

Don’t forget to follow on Facebook for more cake inspiration, and so much more!


Wow that is really cool!!! Thank you I may just have to try this!!!
Thanks so much, I hope you do try it!
This is effect is so pretty and going to have to keep in mind for my younger daughter’s birthday later this year as she loves Ariel the Mermaid 😉
There is so much awesome inspiration out there for mermaid parties. I can’t wait to see what she does for her party!
Thanks so much for having me over here today Kristen! It’s an honor to have my cake mixed in with all of your beautiful cakes!
I love this idea! You break it down to make it seem really easy! Thanks for sharing!
Thanks Lauren! It really is very easy, and would be extra special with Kristen’s inside ombre technique, too!
Ohh.. this rocks so much! The step by step helps me SO MUCH although it’s amazing watching the transformation, and wondering if I could do that too? Maybe with practice. I love the look of the inside cake, AND the frosting. YUM.
Leslie you are amazing! I am in awe of your skill. I wouldn’t have ever even thought to make an ombre cake and now I can’t not think about making one. That is just so cool!
Well that’s WAY easier than I thought it would be! I’ll be trying this out!
Since my wife has picked up cake decorating, we are always looking for fun new ideas to try… and this one just made the list!
Until recently, I didn’t even know what the word ‘ombre’ meant. Had to ask my daughter!
Oh my gosh this cake looks amazing!!! I love a good cake, almost any flavor can satisfy my sweet tooth!
This is BEAUTIFUL. The colors reminded me of the ocean immediately. And thank you for the easy step by step directions. I have to follow you on Facebook, my heart is obsessed with all things Cake.
What a fabulous cake!! Looks easy enough that I could pull this off! Might need to try!
This turned out really well! I love the gelatin bubbles. Super cute;)
This technique is perfect! I was unsure about how on earth this could be easy but it makes total sense. Thank you!
That cake looks super pretty inside. It would be great for a shower or other special event because you can change the colors.
You’re such a great baker.. your cakes are just fabulous, your girls are lucky!!
I always wondered how people made those. Yours turned out fantastic!